
Using the Estimate Calendar
Once you have set up the Estimate calendar you are ready to start booking your clients in for appointments.
You can schedule an estimate appointment in 2 ways.
- By adding a new client to the calendar.
- Through the existing client profile in the dashboard.
1. To create an appointment while also creating a client:
- Click on the calendar icon. You can do this either through the left menu sidebar or from the top toolbar Calendar icon.
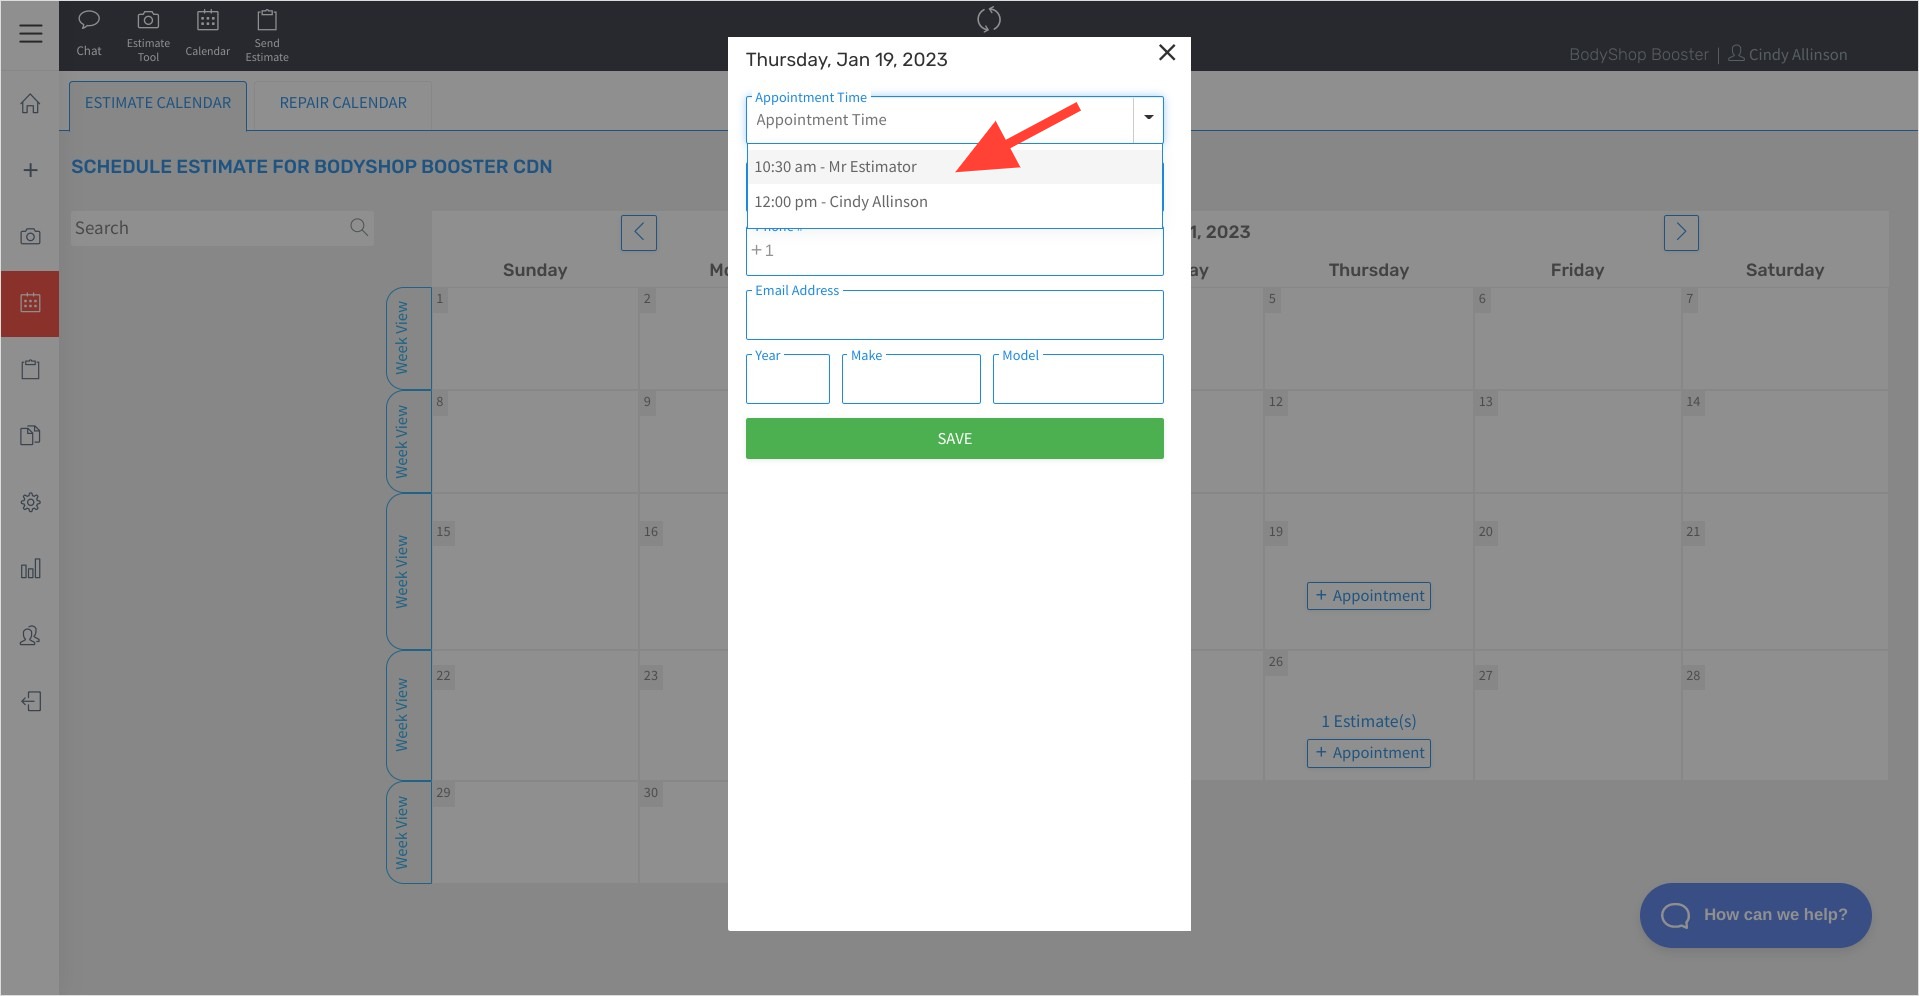
- Click on the + Appointment for the day you wish to create the appointment.
- Choose the time for the appointment (you can now see the estimators available).
- Fill in the client details.
- Click Save.
This will schedule the appointment while also creating a client profile in the dashboard assigning this estimator to their profile for notifications.
2. To schedule an appointment for an existing client:
- Click the Calendar icon to the right of the client's profile and choose to add an estimate appointment (this will bring you back to the Estimate calendar)
- Choose the appointment date and time.
- Click Save.
Note: You will be able to tell if a client has an appointment booked as the calendar icon within their profile will turn green from blue. You can also click on the calendar and it will show you the scheduled appointment. You can go one step further and click right into the appointment for more details.
Your estimator will now be assigned to that customer profile for notifications. You can add more assigned staff if required.
You will also be able to see your estimators who are scheduled for the day by viewing the day's calendar.

Here is a quick video on scheduling estimate appointments.